I’m Brian O’Connor, based in Chicago. I love a good road trip, but I like them even more when I’m not wondering if a tire is slowly bleeding air somewhere between Joliet and the next exit with cell service. The simplest way to stop guessing is a cold tire pressure check before you load the car and hit the highway.
This isn’t about obsessing over numbers. It’s about getting your tires set to what your vehicle actually calls for, catching obvious wear before it becomes a problem, and remembering that your dashboard warning light is not a full-time tire tech.
For the safety basics on pressure, tread, aging, TPMS behavior, and what to do if something goes wrong at speed, NHTSA’s tire safety hub is the best public starting point: NHTSA Tire Safety Ratings and Awareness.
Why TPMS isn’t enough (even when it works)
Tire Pressure Monitoring Systems are great at one job: telling you when a tire is low enough to matter. They are not designed to replace routine checks. In typical use, TPMS does not tell you whether all four tires are evenly set to the recommended pressures, and it does not give you the kind of quick context you get from putting a gauge on each valve stem.
On a summer road trip, that difference matters. Heat builds in tires as you drive. Loads change because you add passengers, luggage, maybe a cooler or rooftop box. If you start the day already underinflated, you stack the deck against yourself before the first rest stop.
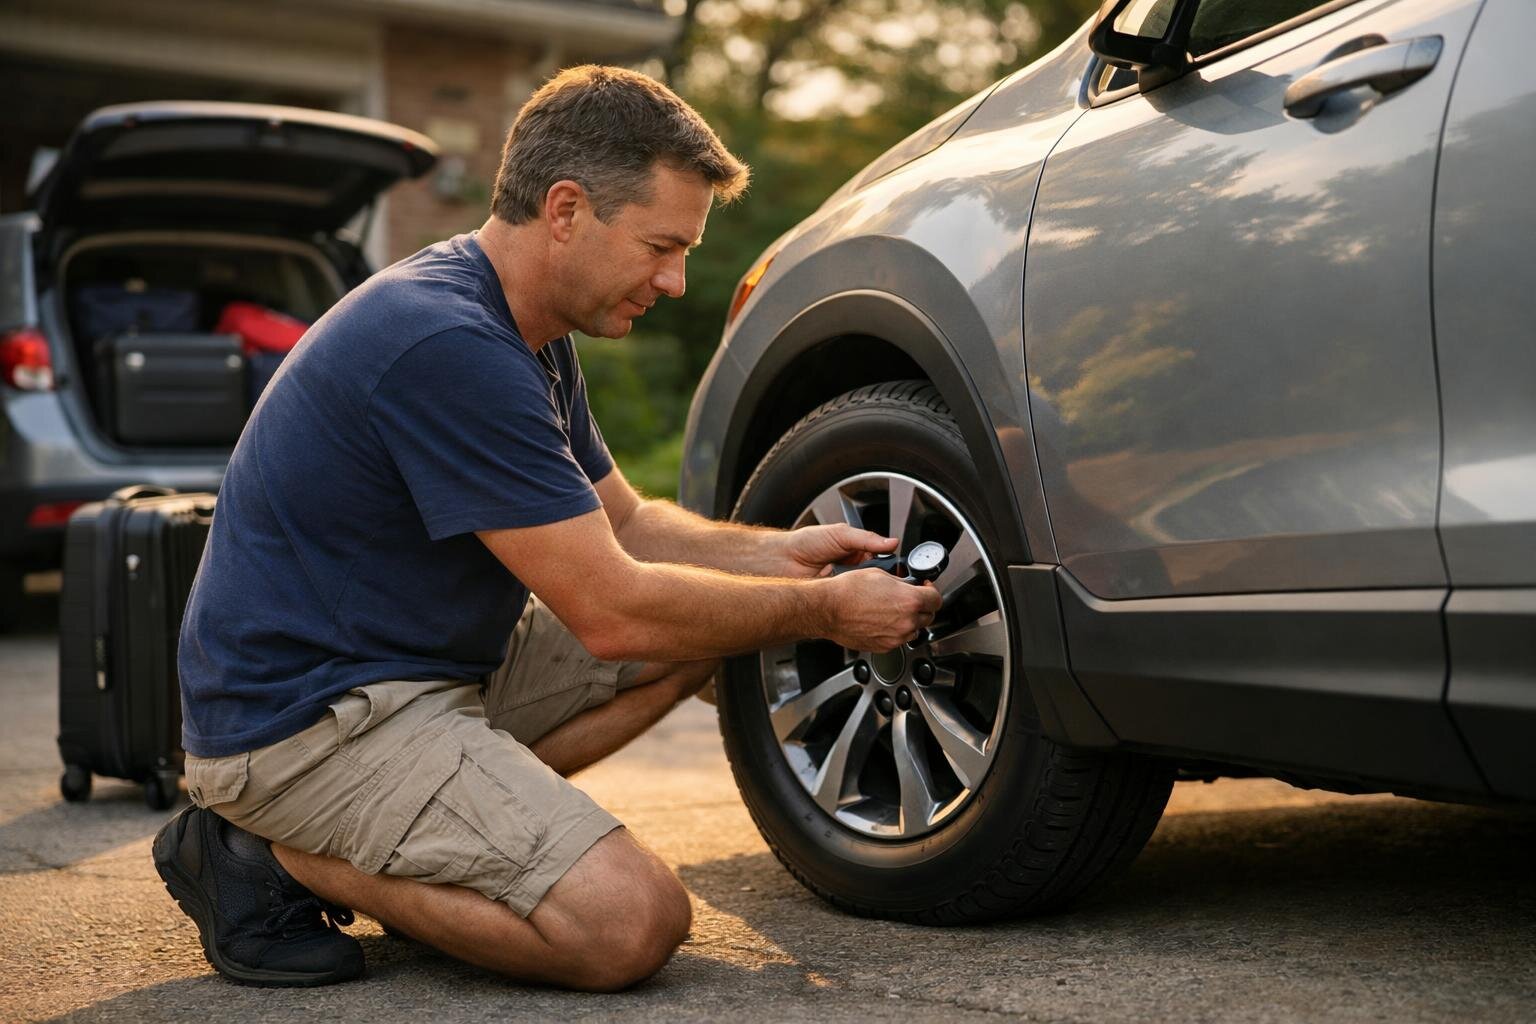
The 10-minute cold-pressure check (the part people skip)
“Cold” tire pressure means the tires have not been driven on recently. That’s the baseline used for the recommended pressure listed by your vehicle manufacturer. Checking cold pressure keeps you from chasing a moving target, because pressure rises as tires warm up during driving.
Here’s the no-drama routine that fits in about 10 minutes for most cars and crossovers:
1) Do it before you roll.
Check pressure in your driveway or parking spot before the day’s driving. If you’re already at a gas station after 30 minutes on the highway, your readings will be higher from heat and you’ll be guessing.
2) Use the door-jamb placard as your target.
Open the driver’s door and look for the tire information placard (commonly on the door jamb). That label lists the recommended pressures for your vehicle. Use those numbers.
3) Ignore “max pressure” on the sidewall for normal driving.
The number molded into the tire sidewall is typically a maximum inflation pressure for the tire itself, not your vehicle’s recommended setting. For most drivers, inflating to sidewall max is not the goal. The door-jamb placard is.
4) Check all four tires, not just one.
I see this all the time: someone checks one front tire, sees “close enough,” and calls it done. Tires can lose air at different rates. Temperature differences from sun exposure can also skew readings side to side. Measure each one.
5) Don’t forget the spare (if you have one).
A spare that’s low on air is basically dead weight when you need it. If your car has a spare tire rather than an inflator kit, include it in your pre-trip routine.
Gauge choice: keep it simple, keep it consistent
You don’t need lab equipment. You do need something better than guessing with your thumb. A basic handheld tire pressure gauge that you trust and can read easily beats relying only on TPMS for pre-trip prep.
If you’re shopping for one, my engineering brain cares about two practical things: repeatability (it gives similar readings each time) and usability (you can read it in bad light without fumbling). The exact style is less important than actually using it regularly.
A quick tread check that doesn’t require special tools
Pressure is step one. Tread is step two. NHTSA covers tread wear and replacement guidance as part of its TireWise material, including common ways to spot when tread is worn down enough that wet-weather traction can suffer.
You’re looking for three things before a long summer drive:
1) Tread depth that’s running out.
If tread looks shallow across wide areas of the tire, take it seriously. Low tread is not just about rain storms; even normal summer downpours can turn standing water into a white-knuckle moment if your tires cannot clear it effectively.
2) Uneven wear patterns.
If one edge looks more worn than the other, or if wear looks patchy across the tread blocks, that can point to alignment issues or inflation problems. Even if you don’t diagnose it in your driveway, spotting it early gives you time to schedule service before departure.
3) Embedded debris or damage in grooves.
Stones happen. So do nails and screws. If something looks lodged in there or you see an area that looks suspiciously fresh or torn up, don’t shrug and hope it holds for 600 miles.
Sidewall and date awareness: what I look at while I’m already down there
This part is fast because you’re already crouched by each wheel for pressure and tread. Give each tire’s sidewall a quick scan for obvious issues like bulges, cuts, or cracking. Sidewall damage is not something to gamble with on an interstate run where speeds stay high and shoulders can be narrow.
Tire age matters too. NHTSA includes tire aging awareness in its guidance; rubber degrades over time even if tread looks decent. If you’ve never checked how old your tires are (or your spare), build that habit now so you’re not surprised later.
If you want a focused walkthrough specifically on reading age markings on a spare before travel, this complements today’s check: checking spare tire age.
The “load reality” check: road trips change everything
A summer road trip often turns a normal commute setup into a fully loaded vehicle. More people in the cabin, more cargo behind them. That extra weight changes how hard each tire has to work.
I’m not going to pretend there’s one universal PSI that works for every car because there isn’t. That’s why I keep coming back to the door-jamb placard. It reflects what your vehicle manufacturer specifies for that vehicle’s normal operating conditions based on available design targets.
If your placard lists different pressures for different loading conditions (some vehicles do), follow those instructions rather than winging it.
What to pack so this doesn’t turn into a roadside problem
I like packing items that reduce stress without turning my trunk into a rolling tool chest:
A decent tire pressure gauge, because borrowing whatever is chained to an air pump last serviced during the previous decade is hit-or-miss.
A way to add air, such as access to an air pump along your route or a small portable inflator if you prefer self-sufficiency. The key is being able to correct small losses before they become big ones.
Your spare setup knowledge, meaning you know whether you have a spare tire or an inflator/sealant kit, and where it lives in your vehicle. If it’s a kit, understand its limitations ahead of time so you’re not learning on the shoulder with traffic blasting by.
This breakdown is worth reading before you leave if your car came with sealant instead of a spare: sealant kit limits.
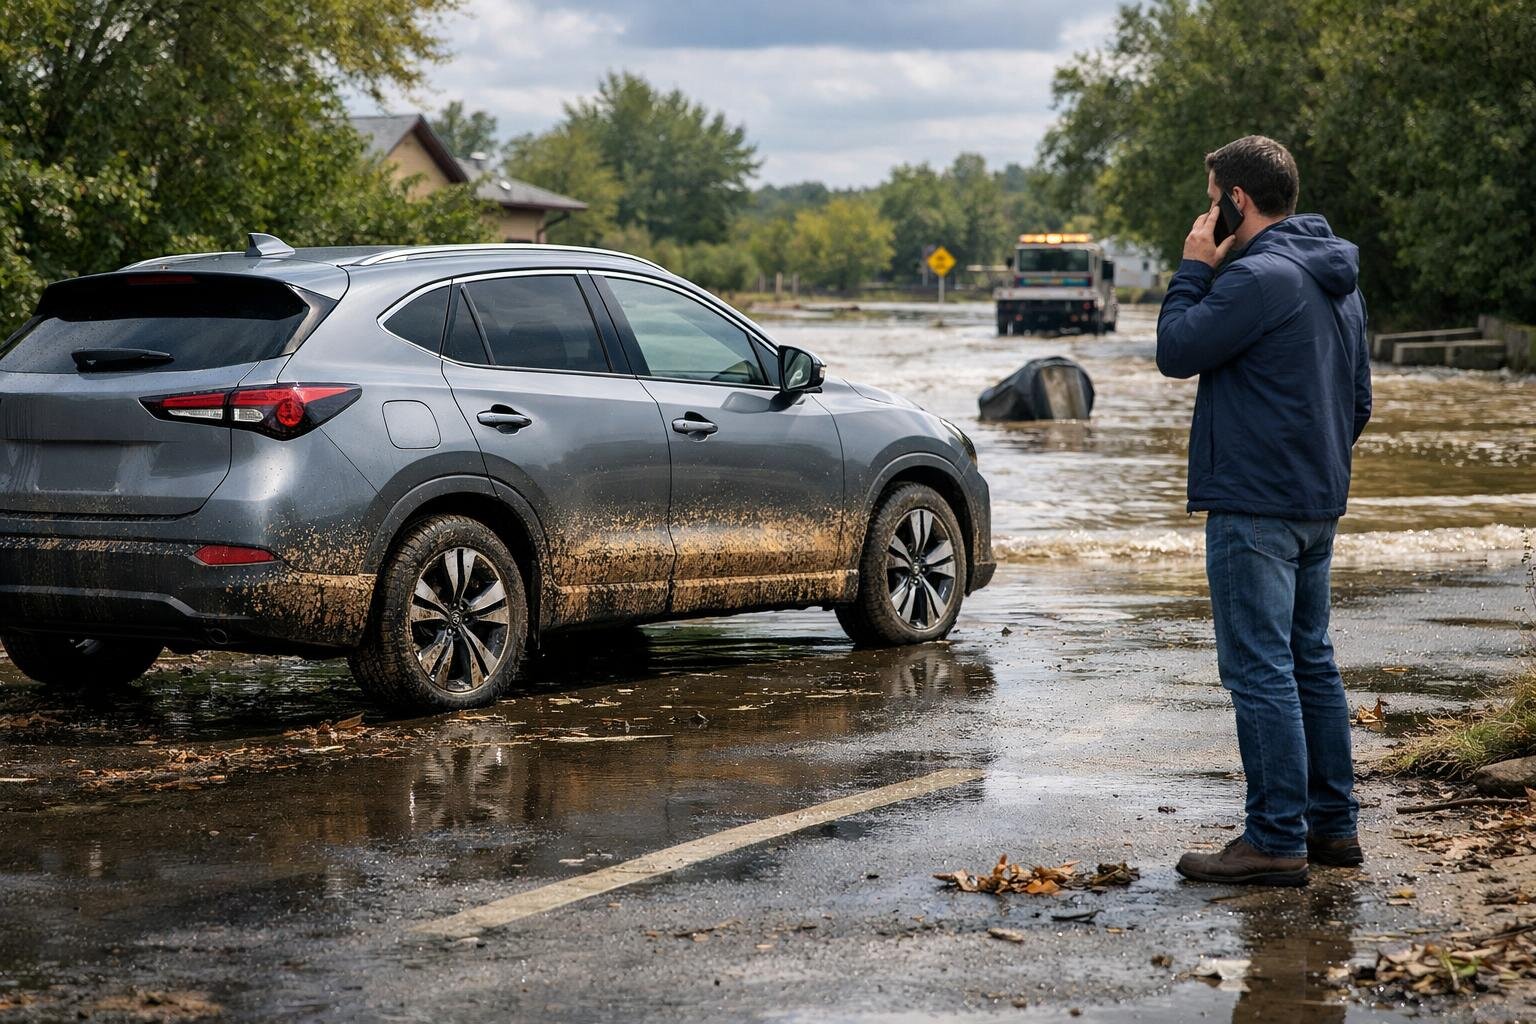
When not to continue driving (the part nobody wants to hear)
If your pre-trip check turns up something sketchy, sometimes the best move is delaying departure by an hour instead of risking hours of trouble later.
Based on NHTSA’s safety guidance themes around tires and blowouts, here are situations where I would stop treating it as “probably fine”:
You see a bulge or bubble on a sidewall.
That can indicate internal damage. This is not “drive gently and see.” It’s “get it inspected or replaced.”
You find repeated air loss in one tire.
If you set pressure cold and it keeps dropping day after day (or even hour after hour), something’s going on: puncture, valve issue, bead leak. Don’t start a long drive hoping it stabilizes.
Tread looks worn down broadly or unevenly enough that wet traction seems questionable.
Summer storms are unpredictable; hydroplaning risk climbs when tread depth is low. If you’re unsure, have a shop measure tread depth properly before leaving town.
Your TPMS light comes on while driving.
Treat it as an action item, not an annoyance. Find a safe place off the road to check pressures with a gauge as soon as practical rather than pushing another hundred miles because “the car still feels okay.”
If something goes wrong at speed: keep it calm and controlled
Nobody plans for a blowout or rapid deflation on vacation week. NHTSA includes guidance on safe response because panic inputs can make things worse fast.
The core idea is simple: keep control of the vehicle first. Hold steady steering input and slow down safely while moving out of traffic when possible; avoid sudden moves that could destabilize the car. Once you’re stopped in a safe location away from traffic hazards, then figure out next steps (spare installation by someone trained and equipped, roadside assistance, or towing depending on your situation).
A quick checklist you can screenshot mentally
If you want this boiled down into something you can do while coffee brews:
Before departure (tires cold):
1) Read door-jamb placard pressures.
2) Gauge-check all four tires.
3) Adjust pressures to placard spec.
4) Quick tread scan for low or uneven wear.
5) Sidewall scan for bulges/cuts/cracking.
6) Confirm spare or sealant kit plan exists and isn’t forgotten under luggage.
The payoff: fewer surprises, better feel
The funny thing about doing this right is how unexciting it becomes. The car tracks straighter; steering feel stays consistent; stops feel normal; nothing smells hot when you pull in for fuel. Those are small wins that add up over hours behind the wheel.
Ten minutes with a gauge beats three hours waiting for help in July heat every time.
0 comments
Join the discussion around this article.
Please login to comment.