Rainy-Day Mystery: Why Your Footwell Gets Soaked
I’m Brian O’Connor, based in Chicago, and I’ve learned the hard way that water inside a car is rarely “just a little water.” It’s a clue. The trick is treating it like a calm detective case instead of panic-cleaning the carpet and hoping it never comes back.
Most wet-footwell complaints trace back to a short list of suspects: door weatherstrips that don’t seal the way they should, cowl drains that can’t drain, sunroof cassette drains that are clogged or disconnected, and occasionally a windshield or body seam that’s letting water past the adhesive. HVAC condensate drains can also soak carpets, but that usually shows up after A/C use, not strictly after rain.
Before we get hands-on, one honest note about “specs.” Leaks aren’t really model-year specific the way horsepower or tow ratings are. The patterns are common across brands and body styles. Competitors in this problem category are basically every modern vehicle with complex sealing and drain paths: Honda CR-V and Accord, Toyota RAV4 and Camry, Ford F-150 and Escape, Jeep Grand Cherokee, Subaru Outback, VW Golf and Tiguan, BMW 3 Series, you name it. Sunroofs add another set of drains; trucks add cowl volume and firewall pass-throughs; older cars add aged rubber. Same physics either way.
Start Like a Detective: Map the Water, Don’t Guess
The biggest mistake I see is starting with the part you suspect instead of the evidence you have. First, figure out where the water is actually entering. Water runs downhill and forward under braking. It wicks through carpet padding like a sponge. The wet spot you feel with your shoe may be nowhere near the entry point.
Your first job is to localize:
1) Front or rear? Slide your hand under the carpet edge if you can (door sill trim often pops up carefully). Feel the padding. If it’s wet in front but dry in back, focus on front drains and seals. If rear is wet too, water may be traveling under the carpet from a front entry point.
2) Left or right? Driver-side leaks often implicate cowl area, windshield corners, hood-to-cowl seal issues, or wiring grommets on the firewall. Passenger-side leaks can be sunroof drains routed down that side, door membrane issues, or HVAC condensate drain problems (again, more A/C-related than rain-only).
3) Only after driving or even when parked? If it leaks while parked in rain, suspect roof drains, door seals, windshield sealant gaps, or cowl drains. If it mainly happens while driving in rain, spray patterns change; wheel-well splash shields and firewall pass-throughs become more likely.
Safety Setup: How to Test Without Flooding Electronics
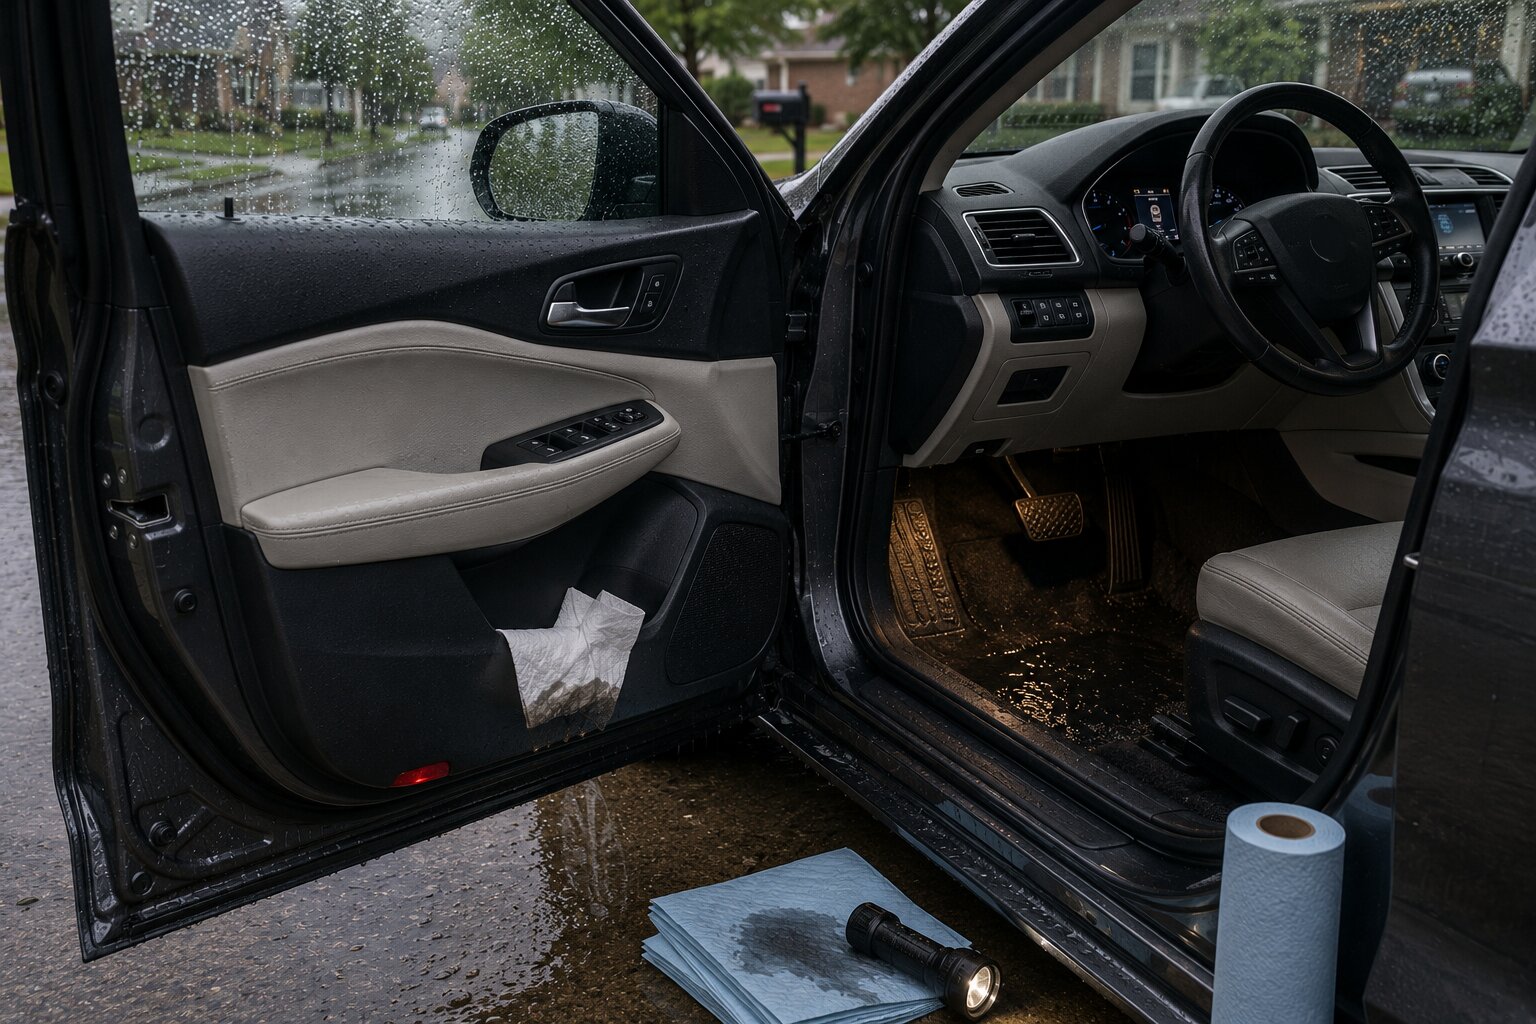
You can do a lot with a flashlight, painter’s tape, paper towels, and a gentle hose setting. Skip pressure washers. High pressure can force water past seals that would never leak in real weather and send you on a wild goose chase.
Tools I actually use:
• Flashlight or headlamp
• Blue painter’s tape (to mark suspected paths)
• Paper towels or shop towels
• A spray bottle or garden hose with a shower setting
• Plastic trim tool (optional but helpful)
• Wet-dry vacuum (if you have one)
Protect what matters: Modern cars tuck airbag modules, wiring splices, and body control modules low in the cabin on some platforms. If your carpet is saturated, avoid turning random connectors into swimming pools. Don’t start unplugging things unless you’re comfortable disconnecting the battery and following safe procedures.
The Controlled Water Test: One Zone at a Time
If you can recruit a friend, do it. One person sprays water outside while the other sits inside with a flashlight looking for first appearance of moisture.
Rule: test one area at a time for several minutes before moving on.
Order that usually makes sense:
1) Door glass and beltline (water runs past the outer window seal by design)
2) Door perimeter weatherstrip
3) Cowl area at base of windshield
4) Sunroof tray perimeter
5) Windshield corners and roof rails
Use paper towels placed strategically: along the lower A-pillar trim edge (inside), at the kick panel by your left foot or right foot, and along the door sill area. The first towel to show moisture is your clue.
Suspect #1: Door Seals (And the Misunderstood Door “Water Management” System)
A lot of people assume any water inside the door is bad. It’s not. Most doors are designed to let water past the outer window scraper into the door shell. Then it should drain out through drain holes at the bottom of the door.
The leak happens when that internal water gets past the inner barrier (often called a vapor barrier or water shield) and into the cabin.
Clues it’s door-related:
• Wetness concentrated along the door sill or lower edge of carpet near the door opening
• Drips behind interior door panel area
• Water after heavy side rain or after washing
• You hear sloshing inside the door (drains clogged)
What to check quickly:
Door drains: Open the door and look underneath. There are usually drain slots or holes along the bottom seam. If they’re packed with debris or road grime, water can rise high enough to find its way inward. Clear gently with a plastic pick or zip tie. Avoid metal tools that can scratch paint and invite rust.
Weatherstrip condition: Look for torn rubber, flattened sections near corners, or misalignment where the seal has pulled away from its channel. In Chicago winters, seals can harden over time; repeated freeze-thaw cycles don’t help.
The inner water shield: This is where many real leaks live after speaker installs or window regulator work. If someone peeled back the plastic barrier and didn’t reseal it properly with butyl tape, water running down inside the door can dump straight onto your carpet at the bottom of the panel.
A practical test: With interior trim still on, spray water at the window area for a few minutes. Then open the door and look at how much water is draining out underneath. If nothing drains and you get interior dampness near the sill later, that’s suspicious.
Suspect #2: Cowl Drains (The Leaf Trap Under Your Windshield)
The cowl is that plastic panel at the base of your windshield where wipers live. Under it is usually an intake area for cabin air and drainage channels that route rainwater down into fender cavities or dedicated drain tubes.
This area is basically designed to deal with lots of water plus lots of debris. Leaves collect there constantly. When drains clog, water level rises until it finds an opening into places it shouldn’t go: through HVAC intake seams, through wiring pass-through grommets in the firewall, or through body seams.
Clues it’s cowl-related:
• Wet driver footwell on left-hand-drive cars is common if wiring grommets are nearby
• Leak appears after parking under trees
• You smell musty air when using vents after rain
• You see standing water when you peek under hood near cowl edges (varies by car)
A careful approach:
You can often inspect without removing anything major: open hood and look along both ends of the cowl area for obvious leaf buildup. Some vehicles make cowl access easy; others require wiper arm removal to pull panels properly. If you’re not sure how yours comes apart without breaking clips or scratching glass trim, stop there and just clear what you can reach.
Cowl drain clearing basics:
• Vacuum leaves out if possible.
• Flush gently with water while watching underneath for drainage.
• If water backs up quickly at one side, that drain path is clogged.
• Don’t shove coat hangers into unknown passages; you can puncture a drain tube or dislodge something important.
If your cabin air filter sits behind/under the glovebox or under-cowl access panel (depends on vehicle), check it too. A soaked cabin filter after rain points toward cowl drainage problems or an HVAC intake leak path.
Suspect #3: Sunroof Channels (Drains That Work Until They Don’t)
A sunroof isn’t meant to be watertight at the glass perimeter forever. The system expects some water to get past the seal into a tray around the sunroof cassette. That tray has drain holes at corners feeding tubes that route down A-pillars (front drains) and C-pillars (rear drains) depending on design.
If those tubes clog with pollen and grit or if they disconnect from their nipples due to age or previous service work, water overflows into headliner edges and then runs down pillars into footwells.
Clues it’s sunroof-related:
• Wet A-pillar trim (careful around airbags) or headliner staining near corners
• Drips from overhead console area
• Wetness shows up even when doors stay closed during rain
• Water seems to appear “from above” rather than seeping upward from floor
A simple drain check:
If you can safely open the sunroof shade and see into the tray area (some designs allow this), pour a small amount of clean water into one corner channel while watching under the car for drainage behind front wheels (front drains) or near rear wheel area (rear drains). Use small amounts so you don’t create your own flood if it’s clogged.
If it doesn’t drain:
You can sometimes clear minor clogs with compressed air used gently from top down, but too much pressure can blow a tube off its fitting inside a pillar. That turns an annoyance into an interior disassembly job. Many DIYers have better luck feeding flexible nylon trimmer line down gently rather than blasting air.
The Wild Cards: Windshield Sealant Gaps and Firewall Grommets
If doors are fine and drains are clear but your carpet still gets soaked during rainstorms, don’t ignore less glamorous possibilities.
Windshield bonding issues: Modern windshields are glued in with urethane adhesive that also contributes to body stiffness on many vehicles. If replacement glass was installed poorly or if there’s corrosion at pinch weld areas on older cars, water can sneak past and run down behind dash insulation before pooling in footwells. This often shows up as wetness near A-pillars without obvious door involvement.
Firewall pass-throughs: Wiring harness grommets are supposed to seal tight where wires go through metal panels. If someone ran an aftermarket wire for an amplifier or accessory lighting without resealing properly, rainwater thrown up from tires can find its way inside depending on routing.
Narrow It Down Fast: A Practical Clue Checklist
If you want a quick decision tree without getting lost in theory:
If only one footwell is wet:
• Driver front only: cowl drains, firewall grommets, windshield corner
• Passenger front only: sunroof front drain on that side (if equipped), door membrane on that side; also consider A/C drain if it happens after using A/C
If both fronts are wet:
• Cowl overflow entering HVAC intake area
• Windshield bonding issue across top edge allowing run-down behind dash
If rear footwell wet but front seems dry:
• Rear sunroof drains clogged (if equipped)
• Water migrating under carpet from front entry point (check padding forward)
Drying It Out Like You Mean It (Odor Prevention Is Half the Battle)
This part matters as much as finding the leak. Carpet surface dries quickly; foam padding underneath stays wet for days. That’s where odor starts and mold risk climbs.
The fast-but-safe drying routine I recommend:
1) Remove what you can immediately. Pull floor mats out first. If they’re rubber all-weather mats holding standing water like a tray, dump them outside right away.
2) Extract water mechanically. A wet-dry vacuum beats towels by miles because it pulls moisture out of padding instead of just blotting surface fibers. If you don’t have one, many car washes have vacuums but they’re usually not designed for liquid extraction; use towels aggressively until you can borrow proper equipment.
3) Lift edges for airflow if possible. On many cars you can carefully pop up door sill trim enough to lift carpet edge slightly without full interior disassembly. More airflow equals faster drying.
4) Use moving air plus mild heat. A small fan pointed into the footwell works well overnight in a garage. In Chicago humidity swings, dehumidification helps more than blasting heat alone. If you have access to a dehumidifier in an enclosed space like a garage, it’s extremely effective.
5) Don’t mask smells early. Air fresheners cover symptoms while moisture remains trapped below. Once dry, then use an odor neutralizer if needed.
A Few “Don’ts” That Save Time and Trim Clips
• Don’t start by replacing weatherstrips unless you’ve proven they’re leaking.
• Don’t use high-pressure water as your primary diagnostic tool.
• Don’t poke aggressively around A-pillar trims if your vehicle has curtain airbags there (many do). If you need deeper access near airbags, consider professional help.
• Don’t ignore standing water under carpet because “it’ll dry eventually.” It might not.
• Don’t assume sunroof glass seal replacement fixes drain problems; most sunroof leaks are about drainage paths rather than glass-to-roof sealing perfection.
If You’re Paying a Shop: What to Ask For
p
If this turns into a professional job (and sometimes it should), ask for process rather than promises:
• “Can you do a segmented hose test and show me where moisture first appears?”
• “Will you check cowl drains on both sides?”
• “If it’s sunroof-related, will you verify each drain flows under gravity?”
• “If interior trim comes off, will damaged clips be replaced?”
A good shop will talk about isolating zones rather than guessing parts. That’s how you keep costs sane.
The Satisfying Part: When You Find It
p
The moment you watch a single drip form exactly where it shouldn’t is weirdly satisfying. Not because you love problems, but because now it’s just mechanics: clear a drain path, reseal a barrier properly with butyl tape where appropriate, replace torn rubber if needed, verify flow again with gentle water testing.
p
If you take anything from this guide: treat cabin leaks like fluid leaks in an engine bay. You don’t replace parts until you know where it starts. Find source first appearance point; fix; retest; then dry thoroughly so Chicago summer heat doesn’t turn damp padding into that sour smell nobody forgets.

0 comments
Join the discussion around this article.
Please login to comment.